Would you like to know how to add your #WordPress blog posts into a page? Here’s a free plugin and quick tutorial to teach you just how it’s done! More from Kori .
Full Audio Transcript
Hey, y’all welcome to another WordPress Wednesday. My name is Kori Ashton and I have a really cool plugin to show you in the budget of free, that will help you put blog posts inside of boring old pages. This is how you do it and I have to give a shout out to Bernardeta for bringing this plugin to my attention. Thank you so much for telling me about it and, of course, I had to share it with the whole community, so very very cool.
Let’s just say you have a boring page this like this. An About Us page and you’d like to put some blog articles down here. How do you do that? Well, Bernardeta told me about Post Grid. It’s a super cool plugin. I highly recommend it. I’m gonna show you how to install it and get it set up. We’re gonna move a little quickly, but you’re gonna go to your plugins section and hit Add New. That’s where you’re gonna look for it. Look for Post Grid. Once it’s there, go ahead and install and activate it. You want to be sure that everything is compatible with your recent version. I’ve already installed it. Now there’s a section over here on the left side called Post Grid. You’re gonna click on that and let me walk you through how to set one up.
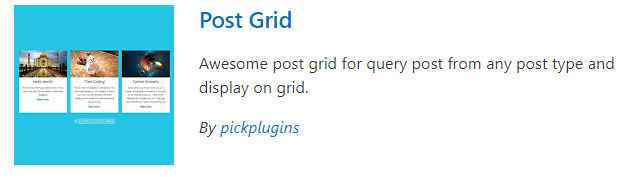
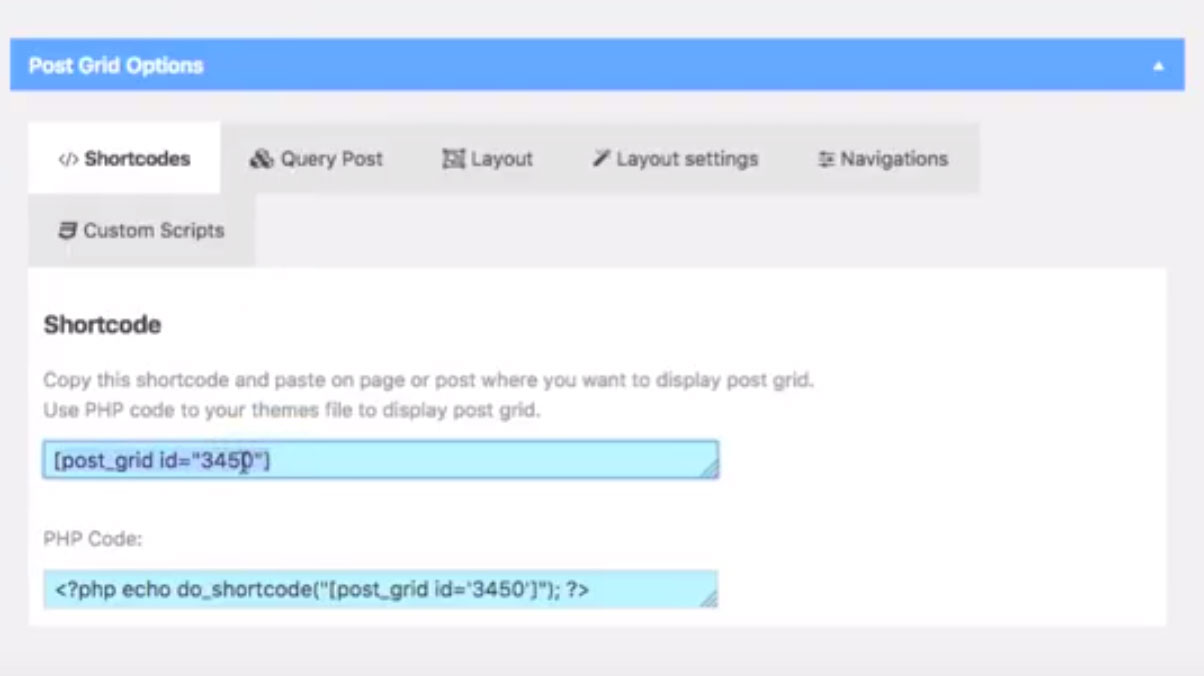
Basically what it’s gonna allow you to do is, gather together in groups any blog posts you want. You can put them in groups. You can filter out some. It’s mind blowing what this thing allows you to do and it’s pretty darn simple. I’m gonna click New Grid Post and I’m gonna say About Us Page. Really this is just for your own tracking so you know where you’re putting these grids. It gives you a shortcode. This shortcode is what we’ll ultimately go put on that page. Right now I’m gonna tell what posts to put together to display on that page. I’m gonna select Post and I’m gonna select all the categories that I want to display there.
If you want multiple categories you can hold down your shift button or a Mac you can hold down the command button. It gives you all sorts of options here for post status. How many posts you want to display. Do you want to include or exclude some? How do you want to order them? By ascending or descending?
You can even randomly select the order of them. That’s kinda cool. Up here at the top you’ve got layout options, so that’s pretty amazing. You also have layout settings. This right here is what I want to show you. I want to do masonry which is super cool, nice layout. It’s beautiful on a mobile device. You can manipulate the width or the height. The background color. I’m gonna leave everything in the default setting for now, for the sake of this tutorial. And the navigation settings, you can change anything when it comes to how the page nation sits, for previous and next option. So super cool there.
One thing I did want to show you here. They do have other options on how they display on the page. It’s just beautiful. Way to go guys. Once you’ve made all these settings and tinkered around with it a little bit, you can click publish. Now you’ve got that short code. You want to copy that on your clipboard right now. We’re gonna run over to the page that we want to paste this into.
We’re gonna click About. Go into the Edit mode here and go down to the bottom of the page and paste in our short code. Now that sits right here and I’m gonna click Update. Check this out. As we come back over here and click Refresh. Now at the bottom of my About Us page, I’ve got really cool blog posts sitting here in a really beautiful masonry area.
If you click on one and go right into it, there’s your blog. How cool is that you guys? Oh, my goodness. Such a cool find. I hope this helps you. If you have any questions, be sure to put them in the discussion box below or give me a tweet. I’d love to help you any way I can. I’ll see you next WordPress Wednesday. Bye, y’all.
